


Getting to Know Flange Adapters
What’s a Flange Adapter All About?
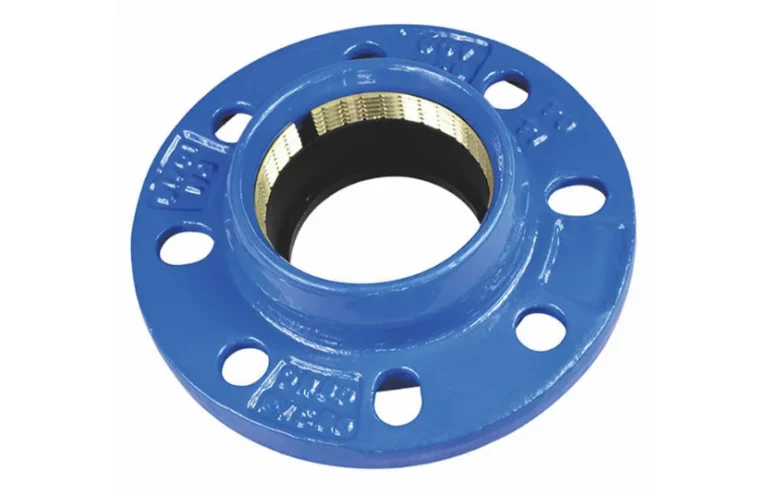
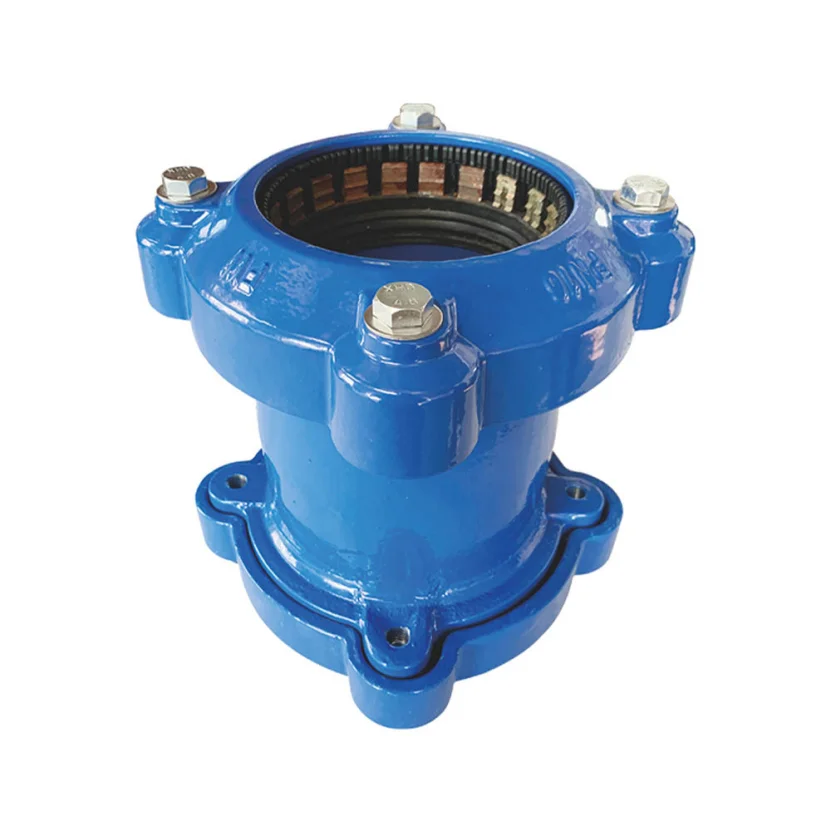
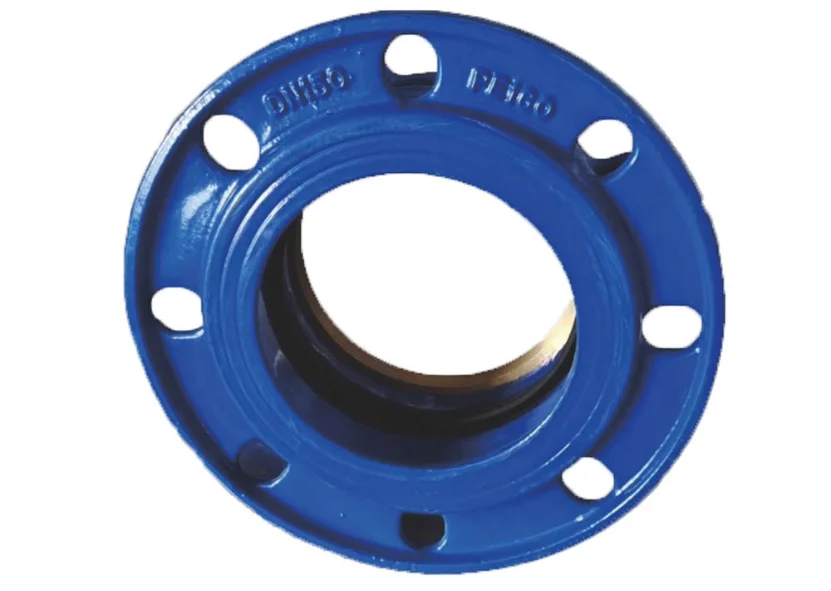
A flange adapter plays a big role in piping setups. It joins pipes or gear that don’t match in size or material. Think of it as a go-between. It keeps the connection tight and free of leaks. These adapters are often built from tough stuff like stainless steel, carbon steel, or plastic. What they’re made of depends on the job and the surroundings. They come in different shapes too, fitting flanges like slip-on, weld neck, or threaded types.
Where You’ll Spot Flange Adapters in Piping Systems
Flange adapters show up in lots of places because they’re so handy and trustworthy. Look for them in water treatment plants. You’ll see them in oil and gas lines too. Chemical factories use them a bunch. Even HVAC systems rely on them. In all these spots, they link pipes of different widths or materials. They hold everything steady. Their knack for handling high pressure and heat makes them a must-have in big industrial jobs.
Why Flange Adapters Are a Win
Flange adapters come with plenty of upsides. For one, they make putting things together a breeze. They connect oddball parts fast and easy. They also toughen up piping systems. A strong seal cuts down on leaks. That means less wear and fewer fixes, saving cash over time. Plus, they work with all kinds of pipe sizes and materials. That makes them super flexible for tons of uses.
What You Need to Install a Flange Adapter
Must-Have Tools for the Job
Setting up a flange adapter takes the right gear to get it spot-on and safe. Here’s what you’ll need:
- Pipe wrench: It tightens or loosens bolts.
- Torque wrench: It gives bolts just the right twist.
- Measuring tape: It sizes up pipes accurately.
- Pipe cutter: It trims pipes to fit.
- Deburring tool: It smooths out rough spots after cutting.
- Safety gear: Gloves and glasses keep you safe from hazards.
Best Materials to Use
For top-notch results when installing, grab some quality supplies like:
- Gaskets: They seal the flange adapter tight to other parts.
- Bolts and nuts: Go for rust-proof ones that last.
- Sealants: They add extra protection against leaks in tough conditions.
Getting Ready to Install
Checking Out the Pipe and Flange Adapter
Before you kick things off, give the pipe and flange adapter a good once-over. Look for dents or cracks. Spot anything odd that might mess up the join. Make sure the adapter fits what your piping setup needs.
Measuring and Trimming the Pipe
Getting the size right is huge when prepping pipes. Grab a measuring tape. Figure out the exact length to match the flange adapter. Then cut the pipe with a pipe cutter. Keep the cut clean and straight. That way, it’ll fit together without a hitch.
Cleaning Up the Pipe Ends
After you’ve cut the pipe, tidy up its ends. Wipe off dirt or grease. Get rid of any junk that could mess with the seal. Use a deburring tool to smooth out sharp bits from cutting. This keeps gaskets safe and helps everything fit snug.
How to Install a Flange Adapter, Step by Step
Testing the Fit with a Dry Run
Start with a dry fit when putting in a flange adapter. That means sliding it onto the pipe with no glue yet. Check how it lines up. Match the adapter to the pipe’s end. Their sizes should be dead-on. This lets you catch any hiccups or odd fits early. If something’s off, tweak it before moving on.
Adding Primer for a Solid Hold
Primer gets the pipe and flange adapter ready to stick tight. Pick one that suits both materials. That’s key for a good grip. Brush it on smooth around the pipe’s outer edge. Do the same inside the adapter. Let it sit a bit—check the maker’s notes—before the next move.
Gluing It Together with Cement
Once the primer’s set, grab some cement made for your pipe type. Spread it even over the primed spots. Do the pipe first, then the flange adapter. Push them together quick. Give the adapter a little twist. That spreads the cement nice and even. Hold it still for a few seconds. It’ll start to bond. This locks in a strong, no-leak fit.
Keeping Everything Lined Up
Lining things up right is a big deal during setup. It stops leaks or shaky spots later. Use a tool to check alignment. Or just eyeball it carefully. Make sure the flange adapter sits where it should with the rest of the system. A slip-up here can mean trouble down the road. Double-check it’s good.
Locking the Flange Adapter Down
Fastening It with Screws or Anchors
After it’s on and lined up, secure the flange adapter for good. Use screws or anchors—whatever your setup calls for. Slide screws into the flange’s pre-drilled holes. Tighten them bit by bit. Go in a crisscross order with a torque wrench. That keeps the pressure even. It stops the flange from bending or breaking.
Making Sure It’s Steady and Tight
Wrap up by testing how solid and snug everything is. Check each screw or anchor. They should feel firm but not overdone—too much twist can hurt them. Push the flange adapter lightly from different angles. See if it wiggles or shifts. A rock-steady join means it’ll hold up great over time.
Frequently Asked Questions (FAQs)
What tools do I really need to install a flange adapter?
You’ll want a pipe wrench, torque wrench, measuring tape, pipe cutter, deburring tool, and safety gear.
How do I keep it lined up right during setup?
Try alignment tools. Or check it by eye after attaching but before screwing it down.
Can I just use regular glue instead of special cement?
Special cement made for your pipes works best. It’s strong and lasts. Regular glue might not cut it.
Are there custom piping options out there?
Yep, Conflex Customization Service has you covered with custom fixes for tricky piping jobs.
Need pro tips on setting up flange adapters? Or curious about next-level pipeline ideas from our R&D crew, experts in global pipeline tech? Hit us up today!