


Leaky pipes are the last thing any homeowner would want, leading to expensive water damage, mildew, and expensive repairs.While there are plumbing repairs that are best done by professionals, small leaks can be repaired with the assistance of DIY. A step-by-step guide on how to temporarily and permanently repair water pipe leaks is presented below.
Step 1: What Should You Do If You First Catch a Leak?
Turn off the water supply when you first notice a leak. This lowers water pressure in pipes, which will put additional strain on the leak, and water damage, sure to further damage the leak. Do the following:
- Turn Off the Water Supply: Locate the shut-off valve of the leaky pipe, typically below sinks or behind toilets. Turn the valve counterclockwise to shut off the water supply. If you cannot locate the particular valve, turn off the master water supply to your home.
- Drain the Pipes:After shutting off the water supply, turn on all faucets that are attached to the faulty pipe. This will drain any remaining water to avoid further leakage during your repair.
- Evaluate the Severity: Decide if the leak is small and can be handled or larger. For a big leak, think about getting professional assistance to avoid further damage.
Step 2: Quick Repairs for a Gushing Pipe
In a time of need when you have an open water supply from a hose and do not have a readily available source of repair material, you can plug the flow with household material. They may hold you over until a more lasting solution is in place.
- Use Household Items: To prevent tiny holes or cracks, insert a pencil or other item into the hole to cut off flow. Seal the hole with electric tape or putty to secure.
- Rubber and C-Clamps: Apply to bigger leaks, rubber wrap (such as rubber glove or hose) and clamp with a C-clamp and pieces of wood. Clamp tighter and tighter—a tightening that is too tight will blow the pipe open.
Step 3: Home Repair for Leaking Pipes
After you have attended to the emergency, you can attempt some home remedies for caulking the leak. Some of the best of these repairs are as follows:
- Plumber’s Tape (Teflon Tape): Plumber’s tape or Teflon tape is the best tape for sealing threaded joints to one another, especially where two pipes converge. Wrap the tape closely around the joint in a way that makes a watertight seal without leakage.
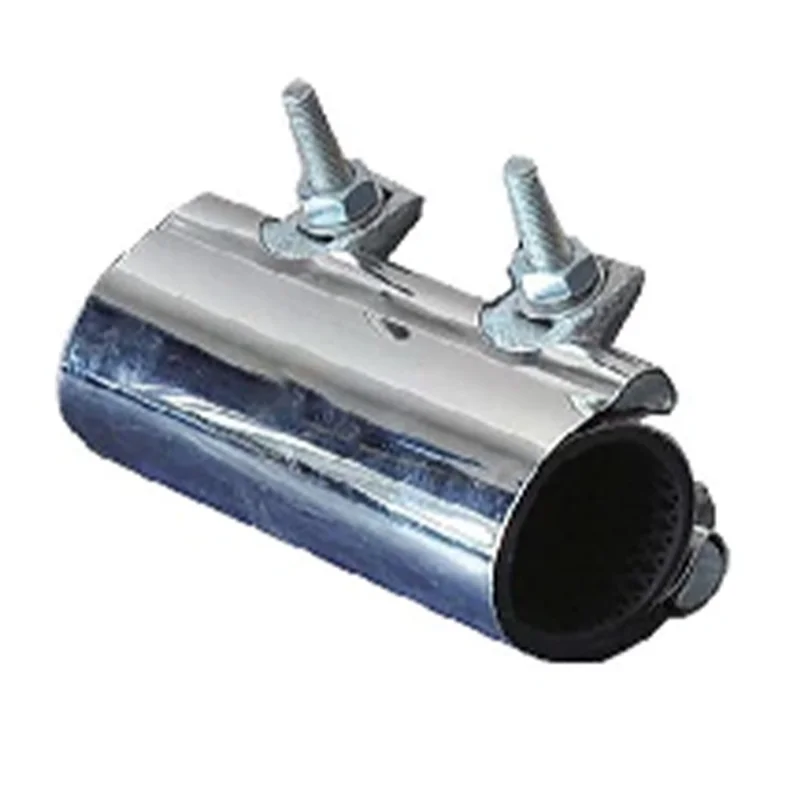
- Pipe Repair Clamps: This is a fantastic fix for burst pipes. Place the clamp over the leak so that the rubber pad is higher than the pipe. Tighten the screws to secure the clamp and switch off the water supply.
- Rubber Hose and Clamp: For bigger leaks, cut a piece of rubber hose slightly longer than the leak. Place it over the pipe and clamp the leak. It is a good temporary solution but should be used short-term.
- Patch and Clamp: You can use a neoprene-coated rubber patch coupled with a repair clamp to seal bigger breaks. It’s merely temporary and must be replaced as soon as possible with a more permanent solution.
Step 4: When Do You Replace the Pipe Section?
Although temporary repair will eliminate the issue, these are short-term measures. In certain instances, one must replace the section of the broken pipe as a long-term solution. Here’s how:
- Head to your neighborhood hardware store and buy the correct size fittings, couplings, and pipe. Replace parts with the same type material that your pipe is made of.
- Use Couplings: If you are only replacing part of the pipe, it would be best to use couplings. This will allow you to connect the new and the old part of the pipe without the need to replace the whole length of the pipe. The coupling must be of the same material and size as the leaking pipe.
Step 5: Prevent Future Leaks?
Prevention is going to prevent you from suffering from future plumbing problems. There are some general steps that you need to keep in mind for protecting your pipes:
- Annual Plumbing Inspections: Keep regular plumbing checks done annually by a professional so that any possible problems are diagnosed at their first stages. Small leaks will be identified by maintenance before they transform into gigantic troubles.
- Check Water Pressure: Maintain your water pressure at a safe level (ordinarily 40-60 PSI). Too much water pressure causes stress on pipes, so they become leaky and susceptible to other problems. Add a pressure regulator if needed.
- Insulate Exposed Pipes: Basements, attics, and exterior pipes tend to freeze during winter. Insulate exposed pipes so that they will not freeze and burst.
- Prevent the Use of Chemical Drain Openers: Chemical drain openers gradually deteriorate pipes and cause leaks. Remove blockages and clogs naturally or mechanically.
Step 6: Why Pipes Leak
It is handy to know the most typical causes of leaking pipes so that you can steer clear of them in the future:
- Corrosion: Metal pipes, especially pipes in older buildings, eventually rust and develop small holes, which cause leakage.
- Water Pressure:Excessive water pressure in excess of the safe level strains the pipes excessively.
- Defective Joints:Vibration over time or temperature change with time weakens joints, and they crack, loosen, and leak.
- Freezing Temperature:Water, when frozen in pipes, expands and bursts or cracks pipes. Pipes are insulated so that the same does not occur.
- Clogged Pipes:Clogs exert pressure on pipes, and that pressure results in leaks at weak points.
- Root Penetration by Trees: Tree roots penetrate underground pipes and form cracks and leaks.
- Loose Water Plugs: Plugs become loose from vibration over time and cause leaks, especially in appliances like washing machines.
- Shifting Foundations: When a house settles, the foundation shifts, bending, cracking, or breaking pipes.
Looking for Credible Pipe Connecting and Repair Services?
For fixing leaks and pipe water repair, you need expertise and quality. Conflex Joints is a professional manufacturer of pipe repair and joining products of quality. Having over 15 years of market presence, Conflex boasts an extensive range of products that can be utilized to rectify minor and major problems in pipes.
Why Choose Conflex Joints?
- Wide Product Range: Conflex offers connectors for wide pipe sizes, saving the inventory cost and offering convenience in repair.
- Convenient and Easy Fitting: Its products offer convenience in running pipeline repair, saving maintenance and downtime.
- Approved Quality:Its products are WRAS approved, and hence are best suited for application in drinking water.
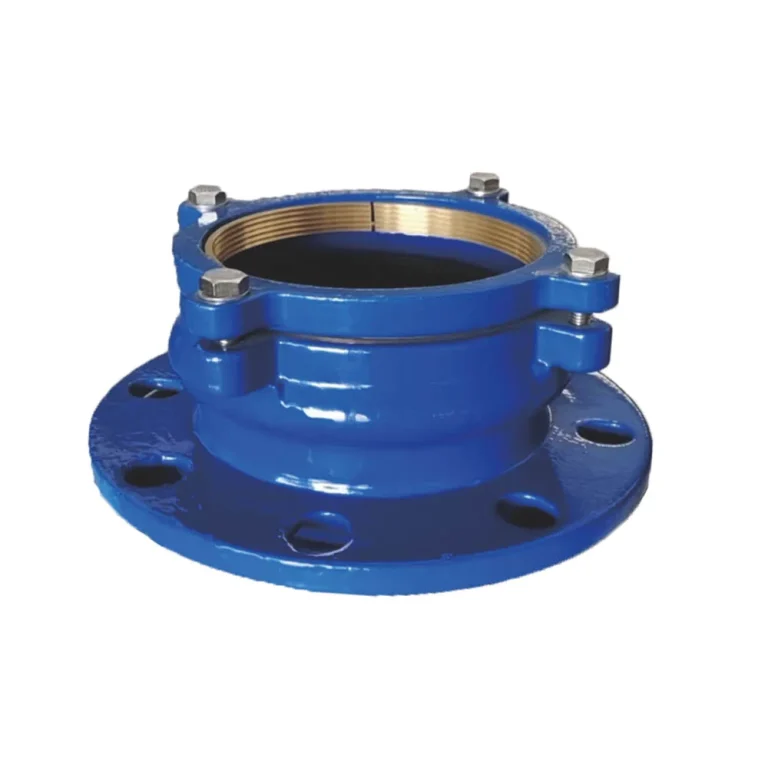
- Flexible Solutions:From flanged adaptors to repair clamps, Conflex has a solution for all pipeline systems.
- High-Tech Technology:Conflex has used high-technology mechanical coupling technology for safe and long-lasting couplings.
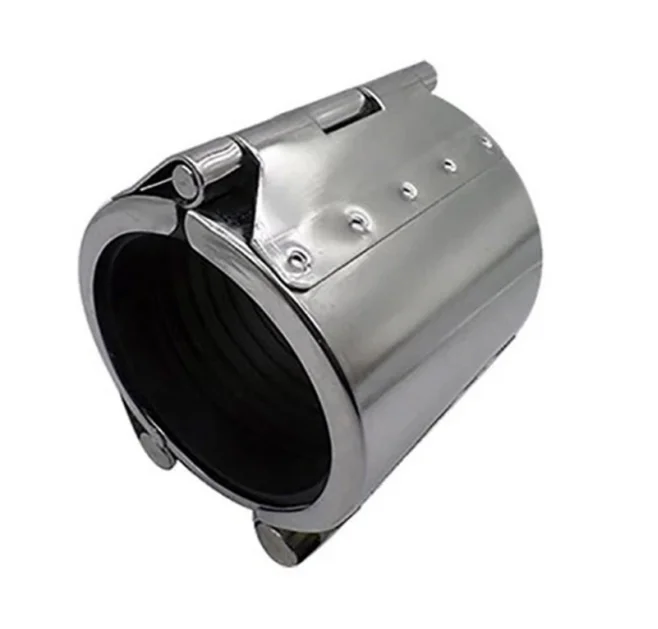
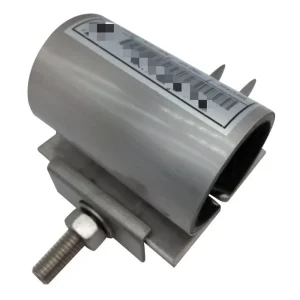
Highlighting Conflex Mini Repair Clamps
Conflex Mini Repair Clamps are used for the purpose of instant effective repair of leaking or ruptured pipes. The clamps are well-suited for pressurized pipeline leak plugging and can be utilized in a wide range of industries including water supply, sewage, gas, and industrial pipes.
Key Features of Conflex Mini Repair Clamps:
- High-Durability Materials:Made of SS304 steel, NBR rubber gaskets, and ductile iron bodies to ensure long-lasting durability.
- Flexible:Ideal for water, sewage, gas, and industrial use.
- Performance:At pressures of PN10/PN16 and temperatures of -10°C to +70°C.
- WRAS Approved: Approved for potable water application.
By adhering to the process of quick leak repairs and employing the right materials, such as Conflex Joints, homeowners and companies can protect their plumbing system and perform effective, long-term repairs.